Pot roast intimidates most home cooks. They assume that tough cuts of beef require some special trick or expensive equipment to turn tender.
Here at Laurie’s Grill, we know the truth: patience and proper technique beat fancy shortcuts every time. This method has been passed down through generations because it actually works.
Which Cut of Beef Works Best for Pot Roast
Why Beef Chuck Stands Out
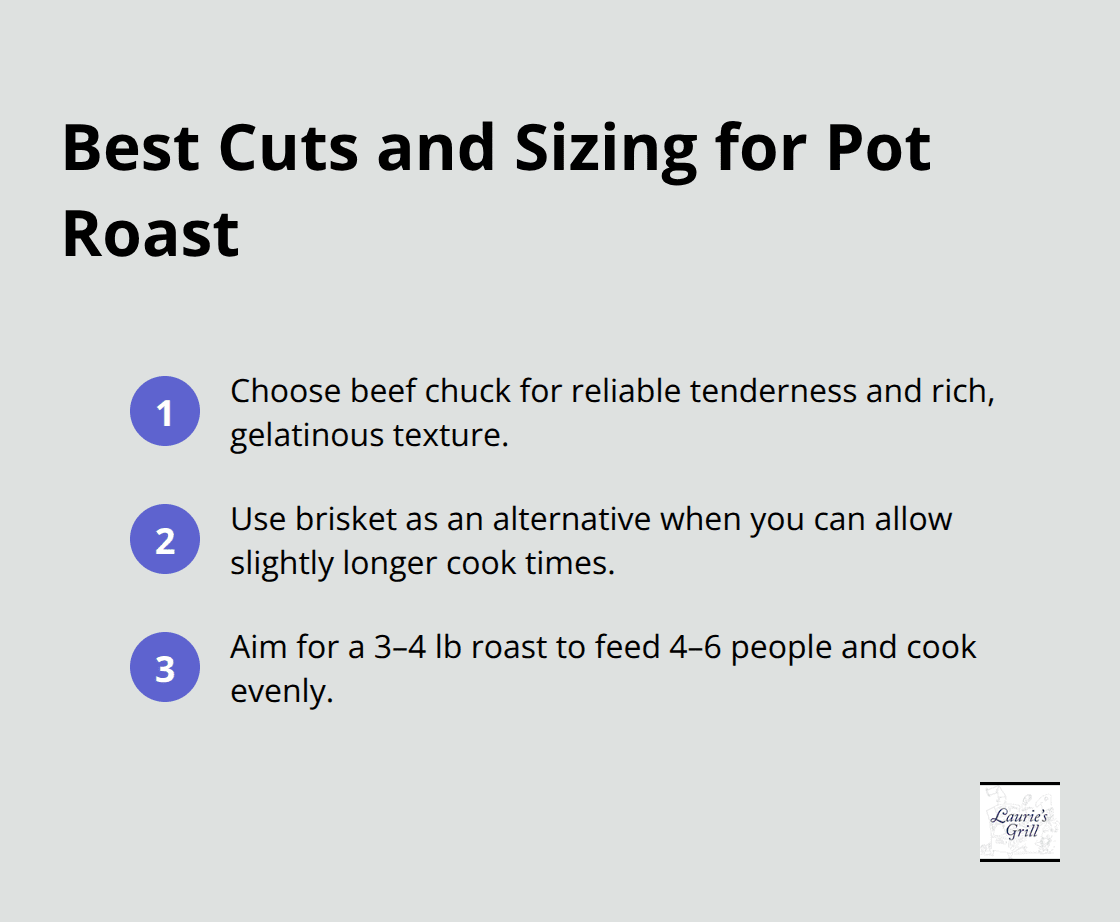
Beef chuck is your best choice for pot roast, and it’s not even close. This cut comes from the shoulder and contains plenty of connective tissue that transforms into gelatin during long cooking, creating that fork-tender texture everyone craves. Chuck typically costs between $5 and $8 per pound, making it budget-friendly compared to premium cuts.
Brisket works as a solid alternative, though it requires slightly longer cooking times due to its denser muscle structure. The choice between chuck and brisket comes down to what your butcher has in stock and your timeline-chuck wins for speed and consistency.
Marbling and Fat Content Matter
When selecting your meat, look for visible white marbling and intramuscular fat throughout the flesh rather than fat concentrated only on the surface. This fat renders during the cooking process and keeps the meat moist from the inside out. A well-marbled roast produces noticeably better results than a lean cut, even with identical cooking times.
Ask your butcher to trim excess surface fat down to about a quarter-inch thick. This leaves enough fat for flavor without creating a greasy final dish. The butcher counter staff can spot quality marbling faster than most home cooks, so don’t hesitate to ask for their recommendation.
Getting the Size Right
A three to four-pound roast feeds four to six people comfortably and cooks in approximately three to four hours using the low and slow method. Anything smaller than two pounds tends to dry out before the connective tissue fully breaks down, while roasts over five pounds may cook unevenly in a standard Dutch oven.
Shape matters too-a relatively uniform, compact roast cooks more evenly than an irregular, elongated piece. Once you’ve selected the right cut and size, you’re ready to prepare it for the braising process that transforms tough meat into something truly special.
The Searing Step That Changes Everything
Why Browning the Meat Matters
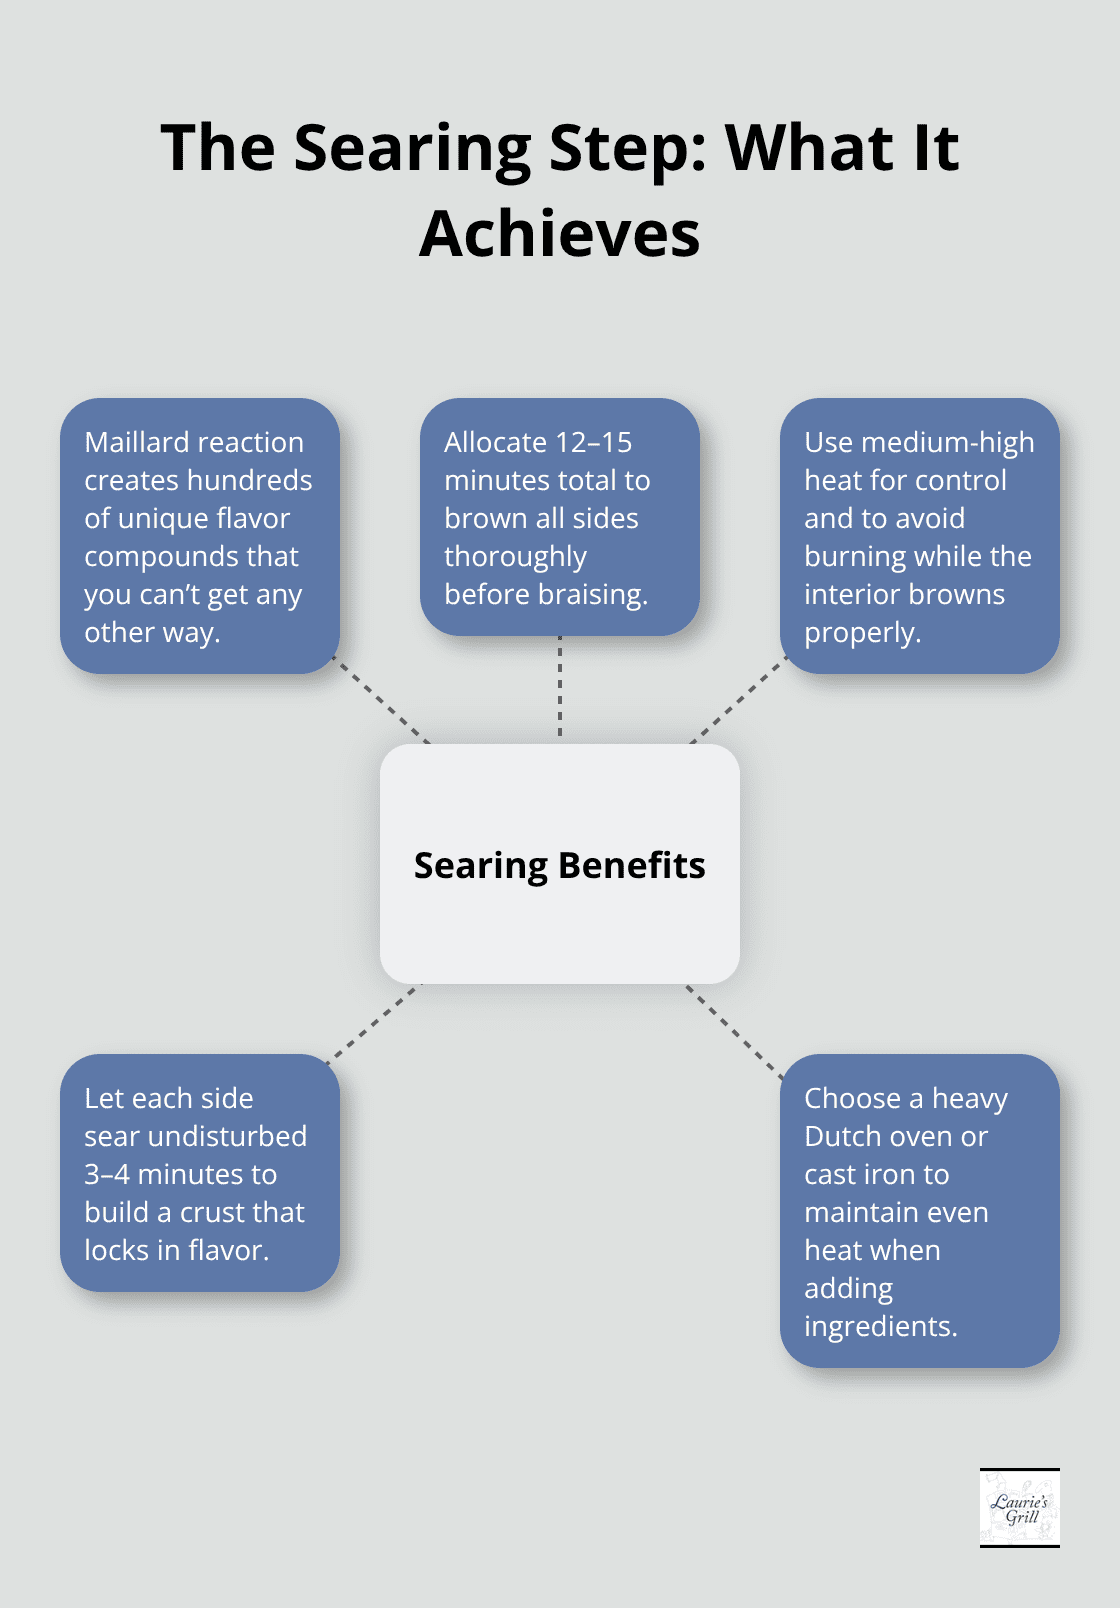
Searing your beef chuck on all sides before braising separates mediocre pot roast from the kind people request for their birthday dinners. When you brown the meat at high heat, the proteins on the surface undergo the Maillard reaction, creating hundreds of flavor compounds that develop no other way. This takes about 12 to 15 minutes total across all sides, and it’s the single most important step most home cooks skip.
Preparing and Searing Your Roast
Pat your roast completely dry with paper towels before it hits the pan, because moisture prevents browning. Use a heavy Dutch oven or cast iron pot-both conduct heat evenly and retain temperature when you add cold ingredients later. Medium-high heat works better than maximum temperature because it gives you better control and prevents burning while the interior browns properly. Let each side sit undisturbed for three to four minutes so a proper crust forms.
Building Flavor with Aromatics
After searing, your pot contains flavor-packed browned bits stuck to the bottom. Add your aromatics (onions, carrots, and celery) directly to the hot pot and cook them for five minutes until they soften slightly and pick up color from the residual heat. Pour in your beef broth and tomato paste, then return the seared roast to the pot.
Low and Slow Cooking in the Oven
The low and slow phase happens at 275 degrees Fahrenheit in a preheated oven for three to four hours, depending on the roast’s size and thickness. At this temperature, collagen in the connective tissue converts to gelatin gradually and consistently, creating that fork-tender texture. Oven cooking beats stovetop simmering because the heat surrounds the pot completely rather than concentrating from below, preventing hot spots and uneven cooking.
Knowing When Your Roast Is Ready
Check the roast at the three-hour mark by piercing it with a fork-if the meat shreds easily with minimal resistance, it’s ready. The liquid reduces to about half its original volume by the end, creating a concentrated, rich sauce that coats the meat beautifully. This flavorful braising liquid becomes the foundation for the gravy that transforms your pot roast into something truly memorable.
Building Flavor Into Your Braising Liquid
The Foundation: Aromatics That Transform Broth
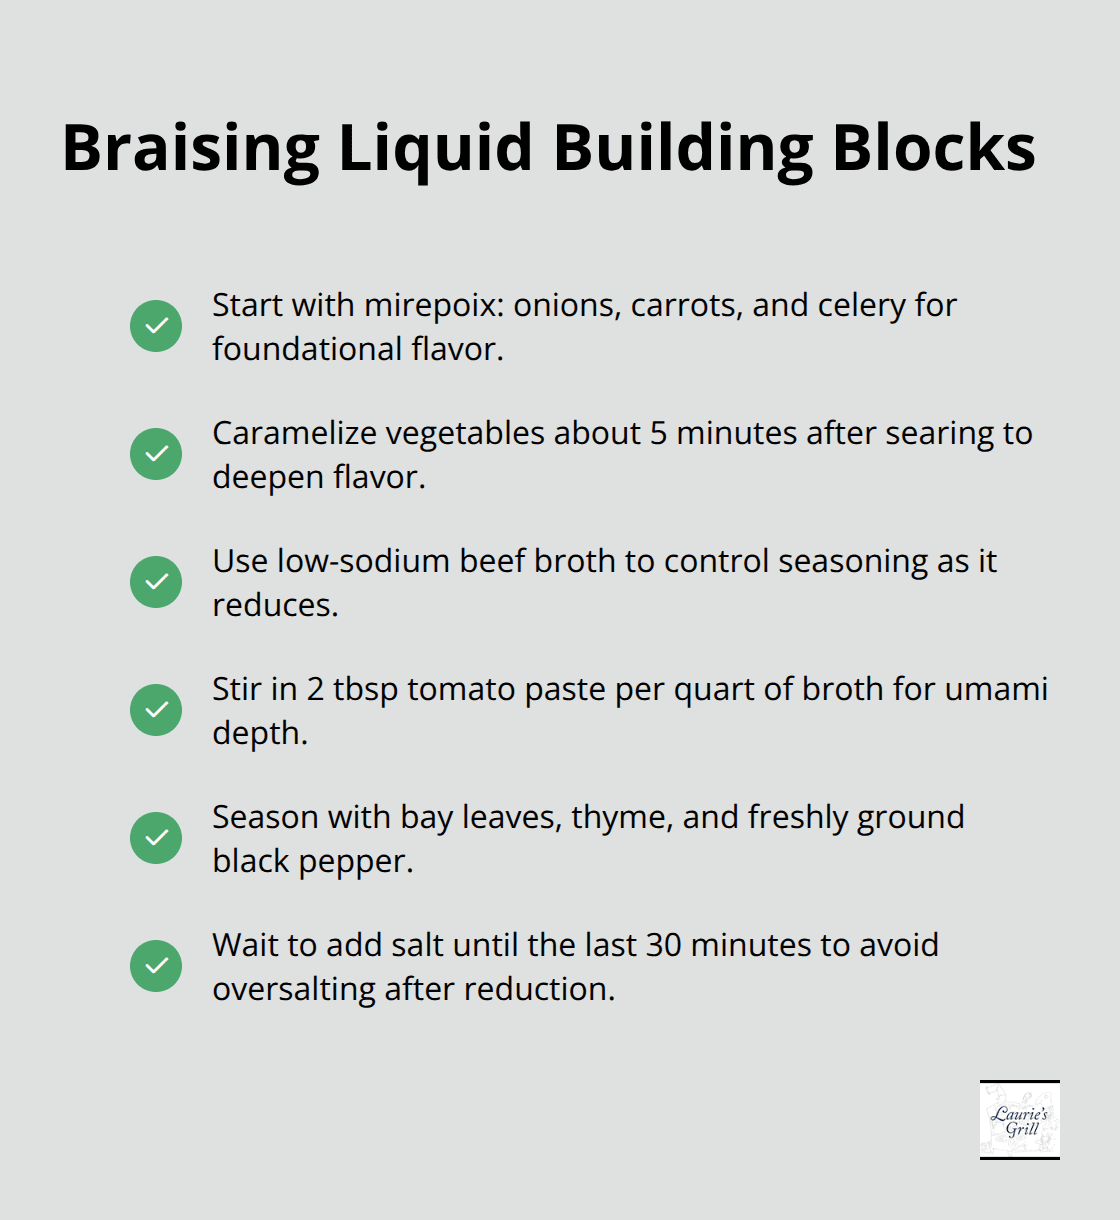
The aromatic vegetables and seasonings you add to your braising liquid transform ordinary beef broth into something that tastes like it simmered for days. Onions, carrots, and celery form the flavor foundation that professional cooks call mirepoix, and this combination has dominated kitchens for centuries for good reason. Chop your onions into rough quarters (no need for precision here), cut carrots into two-inch chunks, and slice celery into similar sizes. The larger pieces won’t break down into mush during the three to four hour cook time, and they infuse the braising liquid without clouding it.
Caramelizing Your Vegetables
Add these vegetables directly to the hot pot after you’ve seared your roast, letting them pick up color and caramelization from the residual heat for about five minutes before pouring in your liquid. This step matters because it develops deeper flavor compounds in the aromatics themselves, not just in the broth. The vegetables absorb the flavorful browned bits stuck to the pot bottom, creating a richer foundation for everything that follows.
Building Depth with Broth and Tomato Paste
Your braising liquid needs beef broth as the base-use low-sodium varieties so you can control the salt level throughout cooking, since the liquid reduces significantly and concentrates all flavors including salt. Add two tablespoons of tomato paste to every quart of broth you use, stirring it directly into the hot pot to break it up completely. Tomato paste adds umami depth that makes people ask what secret ingredient you used, even though it sits right there on the ingredient list.
Classic Seasonings That Complement Beef
For seasonings, add two bay leaves, four to five fresh thyme sprigs (or one teaspoon of dried thyme), and one teaspoon of freshly ground black pepper. These classic flavors complement beef without overpowering it, and they won’t compete with the rich, meaty taste that develops during the low and slow cooking phase. Avoid adding salt at this stage-wait until the last thirty minutes of cooking to taste and adjust, since the braising liquid reduces by roughly half and salt concentrates along with everything else.
Final Thoughts
Tender pot roast comes down to selecting quality meat with good marbling and committing to the low and slow cooking method that transforms tough cuts into something fork-tender. The science works every time-collagen breaks down into gelatin, aromatics build depth in your braising liquid, and the Maillard reaction creates hundreds of flavor compounds during that initial searing step. No secret ingredient or expensive equipment exists; what matters is patience and proper technique applied consistently from searing through the final three to four hours in the oven.
This technique has endured for generations because it delivers results without fail. A three to four-pound beef chuck roast, properly seared and braised with onions, carrots, celery, beef broth, and classic seasonings, produces a dish that tastes like comfort feels (and the gravy that develops becomes something people actually fight over). Master this pot roast method and you’ll have a skill that impresses family and friends without requiring culinary school or fancy techniques.
Visit Laurie’s Grill in Bend, Oregon, where home-style cooking and affordable prices keep the classic American diner experience alive. Whether you’re cooking at home or dining out, good food made with care never goes out of style.
Recent Comments