A grilled cheese sandwich should be simple, but most people get it wrong. The difference between a mediocre sandwich and an exceptional one comes down to three things: your ingredients, your technique, and your willingness to experiment.
At Laurie’s Grill, we’ve perfected the art of building a grilled cheese that’s crispy on the outside and melty on the inside. This guide walks you through everything you need to know.
The Ingredients That Make the Difference
Cheese is where most people fail. Pre-shredded cheese from a bag contains anti-caking agents that prevent proper melting, so you need to grate your own cheese from a block every single time. The best approach uses a two-cheese blend: mozzarella for the melt and stretch, paired with a flavorful aged cheddar or Gruyère for depth. Try 2 to 3 ounces of cheese per sandwich to achieve that gooey interior without soggy edges. Monterey Jack and fontina also melt well if you want to experiment. Room temperature cheese melts more evenly than cold cheese straight from the refrigerator, so pull your block out 15 minutes before assembly. Avoid pre-shredded varieties entirely, even if it takes an extra two minutes to grate the cheese yourself.
Bread thickness changes everything
Bread choice determines whether your sandwich holds together or falls apart. Sourdough and pain de mie work best, with slices cut about 1 cm thick. Thin bread won’t provide enough structure, and overly thick bread prevents the cheese from melting properly before the exterior burns. Avoid heavily holed bread like ciabatta because cheese escapes through the gaps. Fresh bakery bread outperforms pre-sliced supermarket loaves, which dry out quickly and brown unevenly. If your local grocery store has a bakery section, buy from there and slice the loaf yourself. The bread should feel slightly firm but not stale.
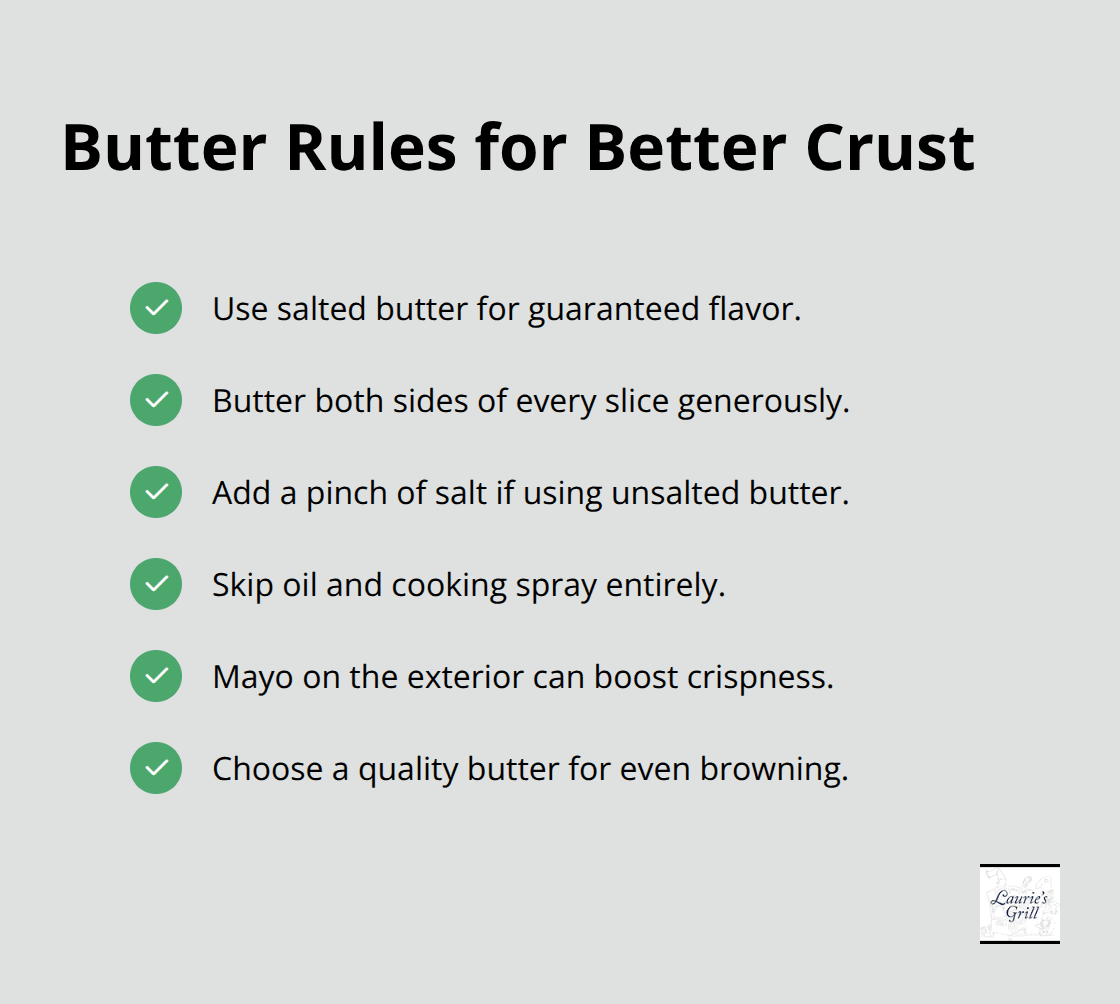
Butter matters more than you think
Salted butter is non-negotiable for flavor. Butter both sides of every bread slice generously before cooking to create that crispy, golden-brown crust and enhance taste. If you only have unsalted butter, add a pinch of salt to compensate. Oil and cooking spray produce a greasy sandwich instead of a crisp exterior, so skip them entirely. Some cooks spread mayonnaise on the outside of the bread instead of butter for extra crispness, which works well if you prefer that approach. Quality butter melts evenly and browns consistently, so invest in a good brand.
What separates good from great
The right ingredients form the foundation, but execution matters just as much. Your pan choice, heat control, and assembly order determine whether you end up with a sandwich that impresses or disappoints. The next section covers the techniques that transform quality ingredients into something truly exceptional.
Mastering Pan Temperature and Heat Control
The pan you choose and how you heat it determine everything. Use a heavy-based skillet or cast-iron pan because they distribute heat evenly and prevent hot spots that burn bread while cheese still melts. Non-stick pans work but produce less crust development. Set your heat to medium or medium-low, around 300 to 350 degrees Fahrenheit. This temperature browns bread gradually while giving cheese time to melt. If your pan runs too hot, the exterior burns before the interior reaches that gooey state. If it runs too cool, bread absorbs butter and turns soggy instead of crispy. Preheat your skillet for two to three minutes before adding the sandwich so heat distributes evenly across the surface.
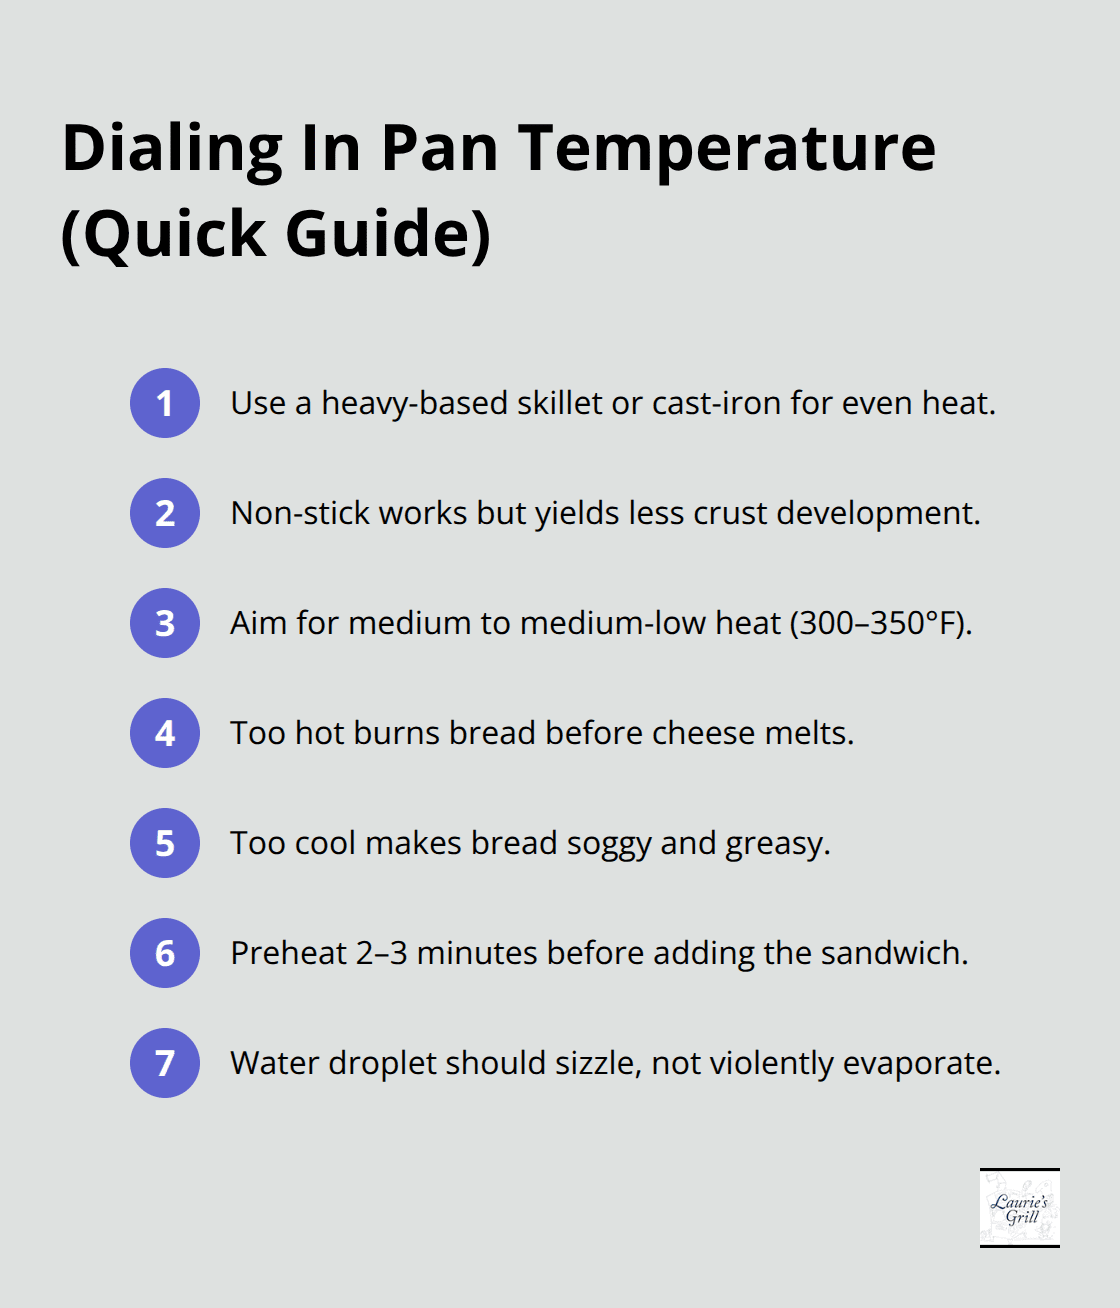
A quick way to test readiness: flick a drop of water onto the pan. It should sizzle immediately but not violently evaporate.
Building Your Sandwich in the Right Order
Assembly order matters more than most people realize. Place one buttered bread slice into the pan with the buttered side down, then immediately add your grated cheese blend to that slice while it toasts for about one minute. This head start speeds up melting and browning simultaneously. Top with your second buttered slice, buttered side up. Cook for three to four minutes on the first side until you achieve a deep golden-brown color, then flip carefully using a spatula. Cook the other side for three to four minutes until the cheese feels fully melted when you gently press the sandwich with your spatula.
Finishing Techniques That Lock in Results
Some cooks place a lid over the pan during the final minute of cooking to trap heat and accelerate melting without additional browning. Press gently but firmly with your spatula throughout cooking to maintain contact between bread and pan, which creates better crust development and more even melting across the entire sandwich. Cut diagonally after letting the sandwich rest for one to two minutes so the cheese sets and won’t ooze out when you bite into it. The moment you cut through and see that cheese pull signals you nailed the technique.
Now that you’ve mastered the fundamentals, the real fun begins. Your next opportunity lies in transforming a solid grilled cheese into something extraordinary by adding proteins, vegetables, and unexpected flavor combinations that elevate the entire experience.
Creative Variations and Upgrades
Proteins That Transform Your Sandwich
Bacon transforms a grilled cheese from satisfying to craveable. Cook four to five strips until crispy, then crumble or layer them between your cheese blend before closing the sandwich. The salt and smoke add complexity that plain cheese alone cannot deliver. Ham works similarly but brings a different profile-a thin slice of quality deli ham (about 1 ounce) adds savory depth without overwhelming the cheese. Prosciutto offers a premium alternative if you want restaurant-quality results; just one or two thin slices provide intense flavor without heaviness. The key is keeping proteins thin and dry. Moisture from wet toppings prevents the crust from crisping properly, so pat any cooked meat with paper towels before assembly. Cook your sandwich exactly as you would the classic version-the proteins don’t change your technique, only your ingredient layers.
Vegetables and Spreads That Add Depth
Vegetables require a different approach than proteins because moisture is their enemy. Tomatoes are tempting but dangerous; if you insist on adding them, slice thin, salt lightly, and pat completely dry with paper towels to minimize water release. A thin layer goes directly on the cheese, not the bread. Caramelized onions work far better than raw ones because cooking removes moisture while concentrating sweetness. Spend ten minutes browning two sliced yellow onions in butter with fresh thyme and rosemary until soft and deeply browned, then layer about two tablespoons per sandwich. Sautéed mushrooms also work well when you cook them down to remove excess liquid.
For spreads, mayonnaise on the exterior of your bread produces a crisper crust than butter alone, though salted butter remains the standard. A thin layer of whole grain mustard or spicy brown mustard adds sharp flavor that cuts through richness. Pesto brings herbaceous notes, but use sparingly-one tablespoon maximum-because oil content can prevent proper browning. Avoid wet spreads like regular mayonnaise on the interior; stick to dry applications like mustard powder mixed into softened butter.
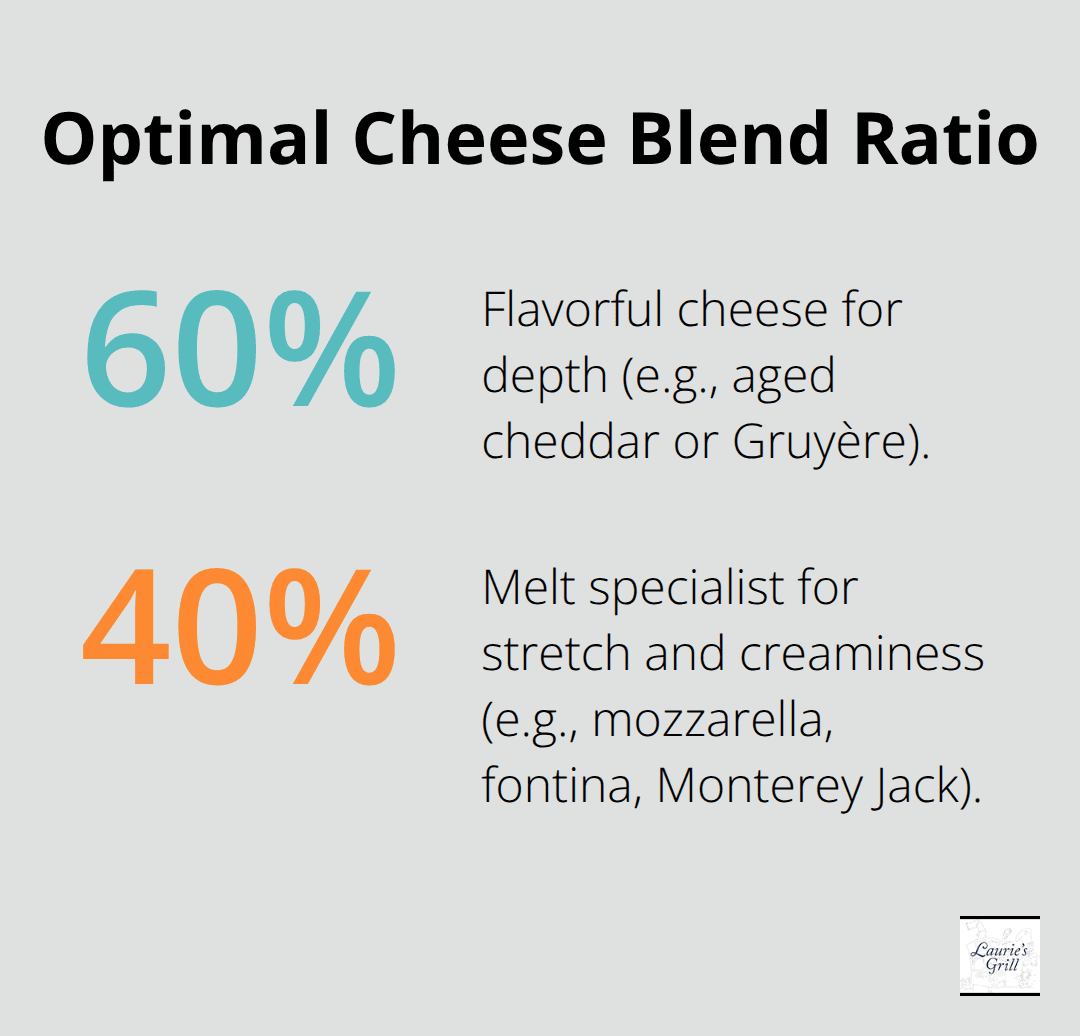
Cheese Combinations That Elevate Flavor
Your cheese combinations determine whether a sandwich tastes flat or complex. White cheddar paired with Gruyère creates a richer, more complex profile. Fontina melts beautifully and adds nutty undertones that elevate the entire experience. Monterey Jack delivers creaminess without competing for flavor attention. The winning formula uses one stronger cheese for flavor and one milder cheese for melt-never go all-in on a single variety. A 60-40 ratio works best, with sixty percent of your blend being the flavorful cheese and forty percent being the melt specialist.
Room temperature cheese remains non-negotiable regardless of your combination choices. Cold cheese from the refrigerator will not melt evenly even with perfect pan temperature and technique. Pull your blocks out fifteen minutes before cooking, grate them fresh, and watch your results improve dramatically. Some cooks pulse their cheese blend in a food processor into a paste if melting seems slow, which accelerates the process without compromising the final result.
Final Thoughts
Quality ingredients, precise technique, and confidence in your choices create an exceptional grilled cheese sandwich. Freshly grated cheese at room temperature, sturdy bread sliced to the right thickness, and salted butter applied generously to both sides form your foundation. Control your pan heat carefully, assemble in the correct order, and allow your cheese time to melt fully before you flip.
Consistency matters more than complexity when you build your grilled cheese. Once you master the classic version, adding proteins, vegetables, and creative cheese combinations becomes second nature. Your foundation stays strong, and your variations build on that strength rather than fighting against it.
You understand now why each step matters in your grilled cheese preparation. Whether you’re cooking for yourself on a weeknight or feeding a crowd, the same principles apply-start with the basics, trust the process, and visit Laurie’s Grill to experience comfort food done right.
Recent Comments